001.A Blog with typst - 使用typst并搭建博客配置教程
1.Preface
-
该教程旨在帮助新手快速搭建可用
typsttypst撰写的博客与文档。 -
目前主流静态博客生成框架以及开源模板绝大多数基于
markdownmarkdown,而我们一般不用markdownmarkdown写大量的数学笔记,而是使用typsttypst或LaTeXLaTeX来编写文档。为了能节省做笔记和写博客的时间,实现同时写作同步更新,满足不同群体的阅读需求。 -
本教程将使用Myriad-Dreamin创作的开源模板作为基础,并介绍博客的部署流程。(其实是本站诞生的艰辛过程。)
-
通过本教程,你将学会:
- 如何搭建一个基于
typsttypst的博客 - 如何部署你的博客
- 初识
typsttypst - 开源项目的克隆和更新
- 如何搭建一个基于
-
话不多说,直接上正片:
2.Basic Requirements
- 本节将聚焦于一些基础软件包的安装。
2.1.Git installation
-
所有Github上的开源项目习惯上来说都需要用Git这个工具来进行管理。
-
Git的安装可以参考官方下载页面。
-
选择对应的版本直接开涮
-
安装中若有环境变量的出现,则一律允许;若没有,请自行百度如何添加环境变量。将Git的安装路径添加到环境变量中,以允许全局的调用。
2.2.Node.js installation
-
Node.js是一个JavaScript运行环境,很多现代前端工具都依赖于它。
-
Node.js的安装可以参考官方下载页面。
-
选择对应的版本直接开涮
-
安装中若有环境变量的出现,则一律允许;若没有,请自行百度如何添加环境变量。将Node.js的安装路径添加到环境变量中,以允许全局的调用。
2.3.Typst installation
-
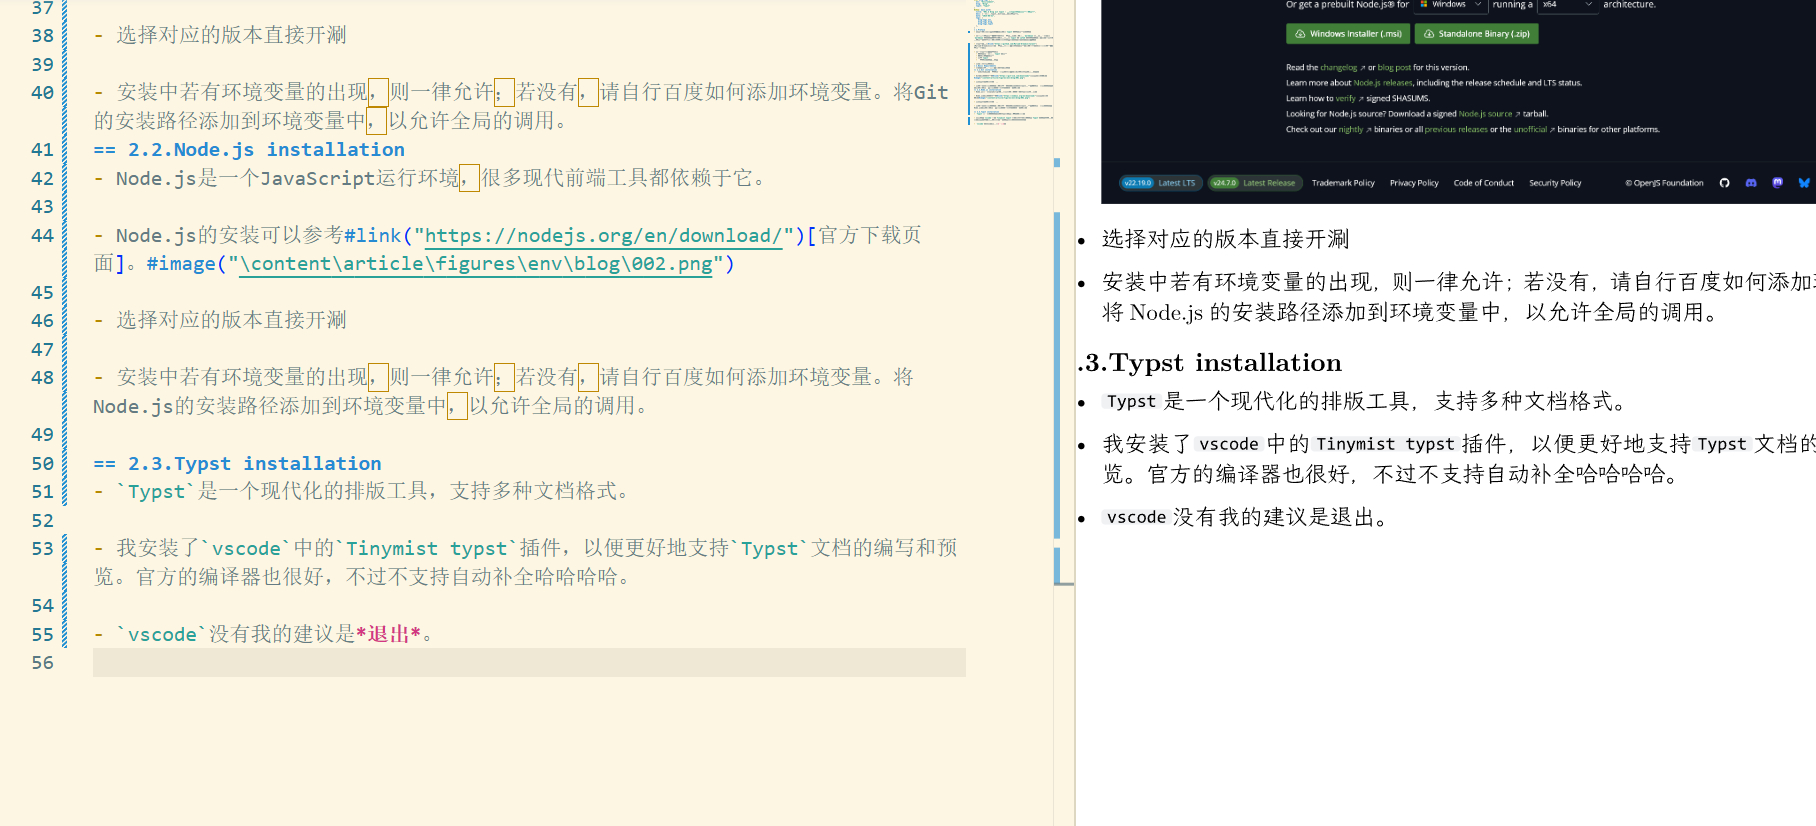
TypstTypst是一个现代化的排版工具,支持多种文档格式。 -
我安装了
vscodevscode中的Tinymist typstTinymist typst插件,以便更好地支持TypstTypst文档的编写和预览。官方的编译器也很好,不过不支持自动补全哈哈哈哈。 -
vscodevscode没有我的建议是退出。 -
顺便贴一张我正在使用的截图:
2.4.GitHub Action in Vscode(optional)
-
在
vscodevscode中使用GitHub Action可以帮助我们更好地管理分支和版本。 -
首先,确保你已经安装了扩展插件。
-
然后,可以通过命令面板(
Ctrl + Shift + PCtrl + Shift + P)输入Git: Create BranchGit: Create Branch来创建新分支。 -
在开发过程中,可以使用
Git: Start Pull RequestGit: Start Pull Request来发起合并请求。 -
最后,记得定期推送你的更改到远程仓库。
-
我还是喜欢Git Bash哈哈哈哈。就是我们之前安装好的那个。
2.5.npm or pnpm
-
npmnpm是Node.js的包管理工具,pnpmpnpm是一个更快的替代品。 -
你可以根据自己的喜好选择使用
npmnpm或pnpmpnpm来管理项目依赖。 -
安装
pnpmpnpm只需要一条命令: -
npmnpm在安装Node.jsNode.js时会自动安装,而pnpmpnpm则需要单独安装。
2.6.Astro installation in vscode
-
AstroAstro是一个现代化的静态网站生成器,支持多种前端框架。 -
AstroAstro的安装可以通过安装vscodevscode插件完成。
3.Quick Start
- 在本节中,我们将快速搭建一个基于
typsttypst的博客项目。
3.1.Initialize and Template Creation
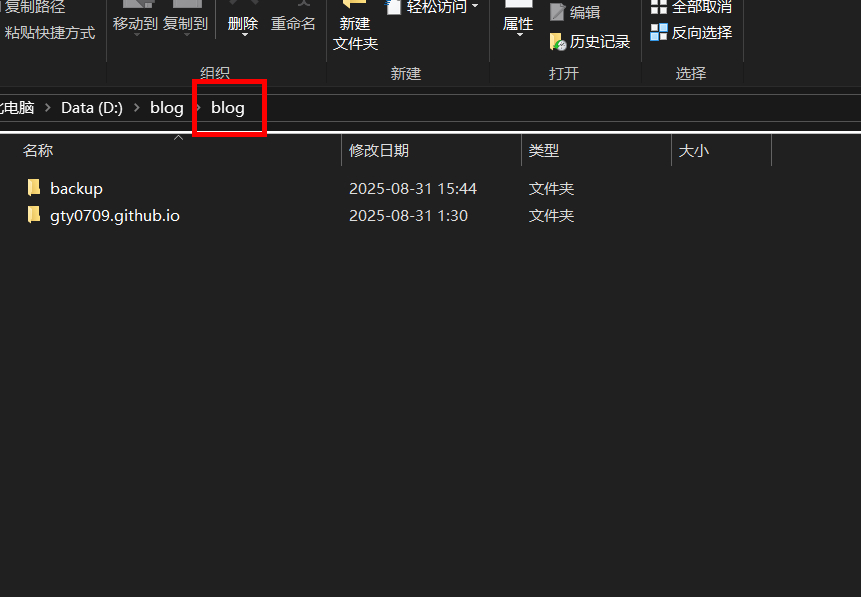
- 首先,创建一个新的文件夹作为你的项目根目录的上一级目录。
如上图所示,我创建了一个叫blogblog的文件夹。
- 右键点击,打开"Git Bash Here"。
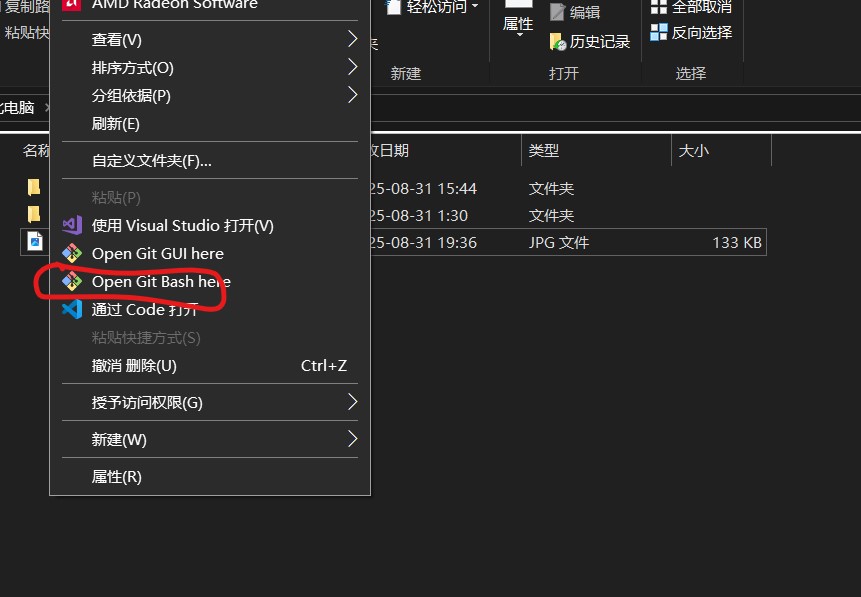
-
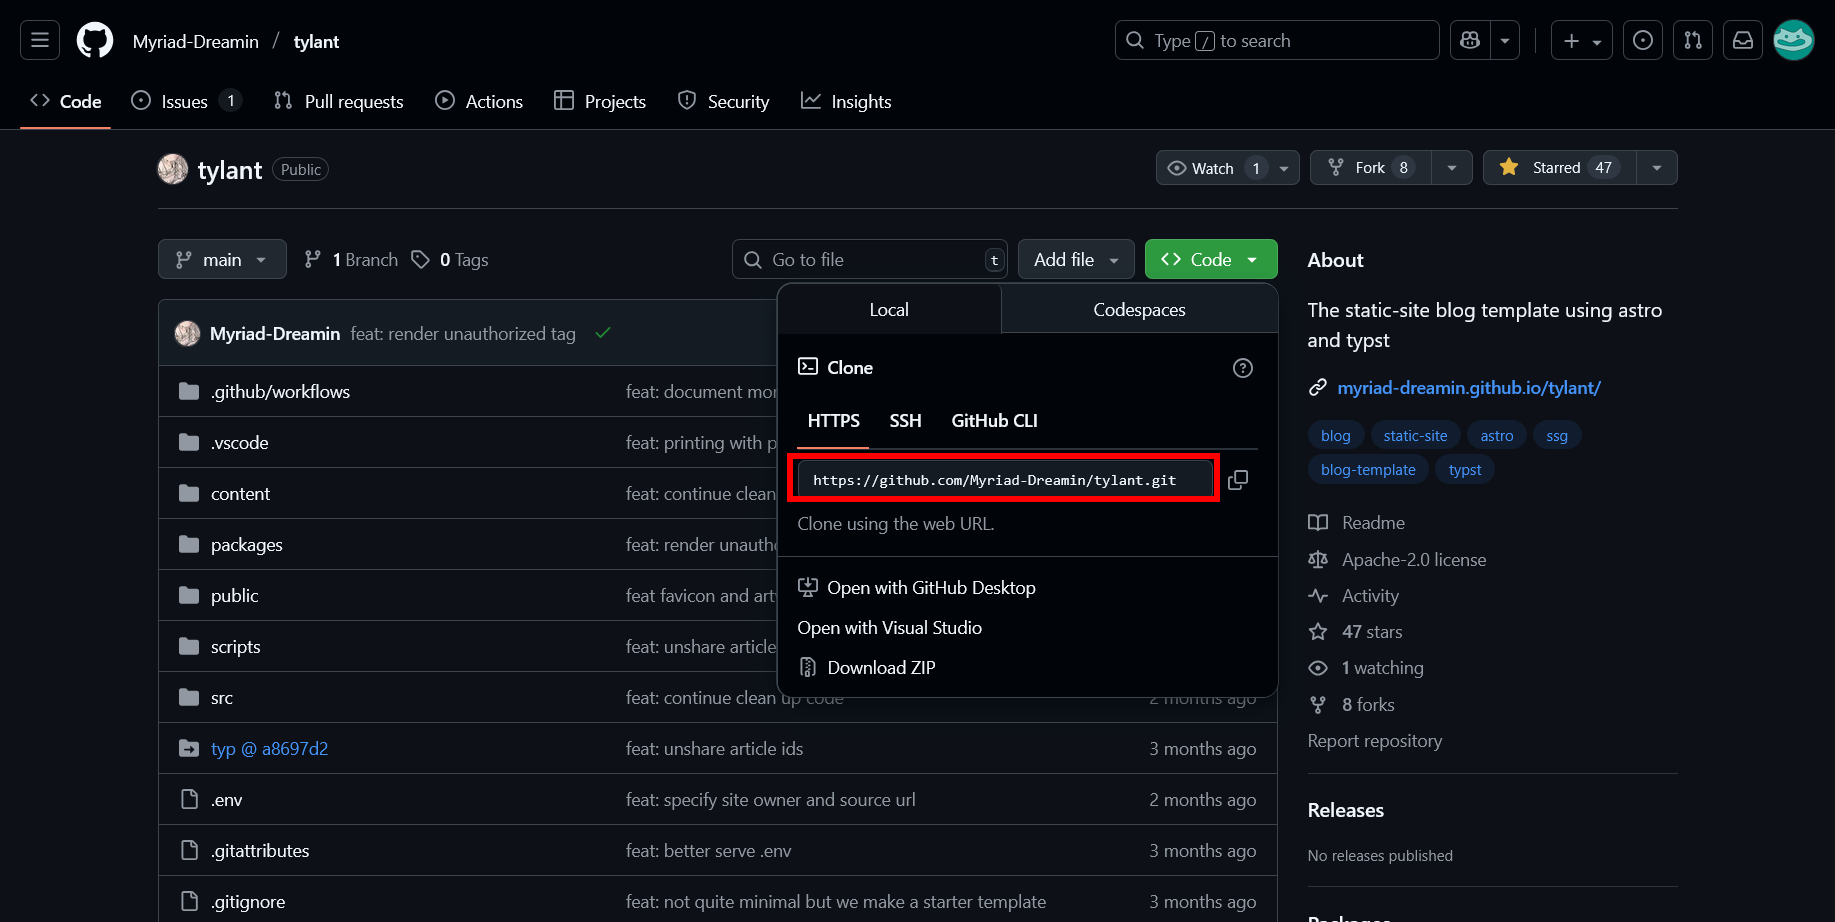
然后去之前提及的模板开源库或我的仓库中克隆项目:
复制该地址,终端输入:
等待克隆完成。
-
进入克隆下来的项目目录,终端输入:
-
安装依赖,终端输入:
看到以下信息,说明项目启动成功:
-
打开浏览器,访问
http://localhost:4321/http://localhost:4321/,你应该能看到博客模板首页。
3.2.Some Descriptions
-
第一次接触的小白估计人都傻了。一大坨文件,怎么用?
-
别急,先看开源项目留下的
README.mdREADME.md,它里面包含了对开源项目的介绍,模板的使用功能等。 -
对本仓库,我做出如下解释:
srcsrc:存放源代码的目录,包括页面组件、样式文件等。publicpublic:存放静态资源的目录,如图片、字体等。contentcontent:存放博客文章的目录,支持typsttypst格式。astro.config.mjsastro.config.mjs:Astro的配置文件。package.jsonpackage.json:项目的依赖和脚本配置文件。tsconfig.jsontsconfig.json:TypeScript的配置文件。README.mdREADME.md:项目的说明文档。
因此,我们只需到
content/articlecontent/article目录下新建一个typsttypst文件,即可开始写作。写作完成刷新一下浏览器页面就能看到我们写的东西啦! -
我们可以看到示例:
-
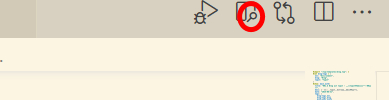
vscode右上角这个图标能让你看到当前文件的编译效果。对代码做出一些解释:
#import "/typ/templates/blog.typ": *#import "/typ/templates/blog.typ": *:导入博客模板。#let blog-tags = (...)#let blog-tags = (...):定义博客标签。这里应该没有,进阶部分我会讲这么设置的原因是什么。#show: main.with(...)#show: main.with(...):显示博客的主要内容,包括标题、描述、日期和标签。This is really important! 没有这段信息编译能成功,但是渲染到浏览器的时候就会出错!(编译指的是.typ.typ文件在编辑器中通过编译得到一个.pdf.pdf文件,而渲染指的是把.typ.typ文件渲染成网页,并构成博客的基础)= Raw Blocks= Raw Blocks:一级标题。这些typst语法不做详细解释。自行去看官方文档。- 后续内容为博客正文,可以使用
typsttypst语法编写。
-
因此,根据给出的模板,我们需要改的东西一目了然。
/content/content目录旁边还有一个/other/other目录,里面那个about.typabout.typ存放了这个模板的作者信息,我们只需要换成自己的自我介绍,然后就能很好的展示博客的aboutabout页面。 -
除此以外,我们还要看到根目录下的全局配置文件
.env.env,里面有关于博客在上传阶段的网站信息。一般情况下,我们的博客是上传到GitHub Pages的,因此,我们需要将GITHUB_USERNAMEGITHUB_USERNAME和GITHUB_REPOGITHUB_REPO两个字段换成自己的用户名和仓库名。如下是修改过后的配置文件:
-
前面有
##表示注释,不会被执行 -
对照一下说明性注释,
SITE_TITLTSITE_TITLT,SITE_INDEXSITE_INDEX等字段改成自己的字段即可。
4.Deploy your blog to GitHub Pages
4.1. Create a new repository
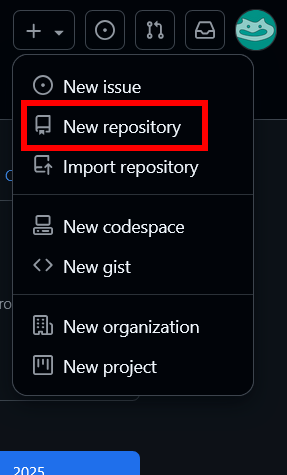
- 创建一个名为
{用户名}.github.io{用户名}.github.io的仓库,并初始化一个README文件。
注意在创建仓库的时候,选择Initialize this repository with a READMEInitialize this repository with a README,以及命名为{用户名}.github.io{用户名}.github.io,若换成其它命名,后面部署的时候会报错。
-
Git Bash打开本地项目根目录,先声明添加的用户和邮箱:
-
添加
sshssh密钥,具体操作过于繁琐,请自行搜索教程。添加后测试是否成功: -
上述工作完成后,若是第一次上传则使用Git Bash在项目根目录下执行以下命令:
已经上传过一次,后续修改本地文件后,只需执行以下命令:
-
去到我们仓库的网址,点击
SettingsSettings,找到GitHub PagesGitHub Pages,选择SourceSource,并选择mainmain分支,点击SaveSave。若让你选择构建方式,则选择actionsactions方式,通过工作流构建分支。 -
去到我们仓库的网址,点击
actionsactions,查看工作流运行情况。对工作流不熟悉不要紧,后续进阶解我说将会娓娓道来。你现在只需知道现在界面下有一个名字为{你的commit字段}{你的commit字段}的运行工作流,点击进入工作流,查看运行结果。
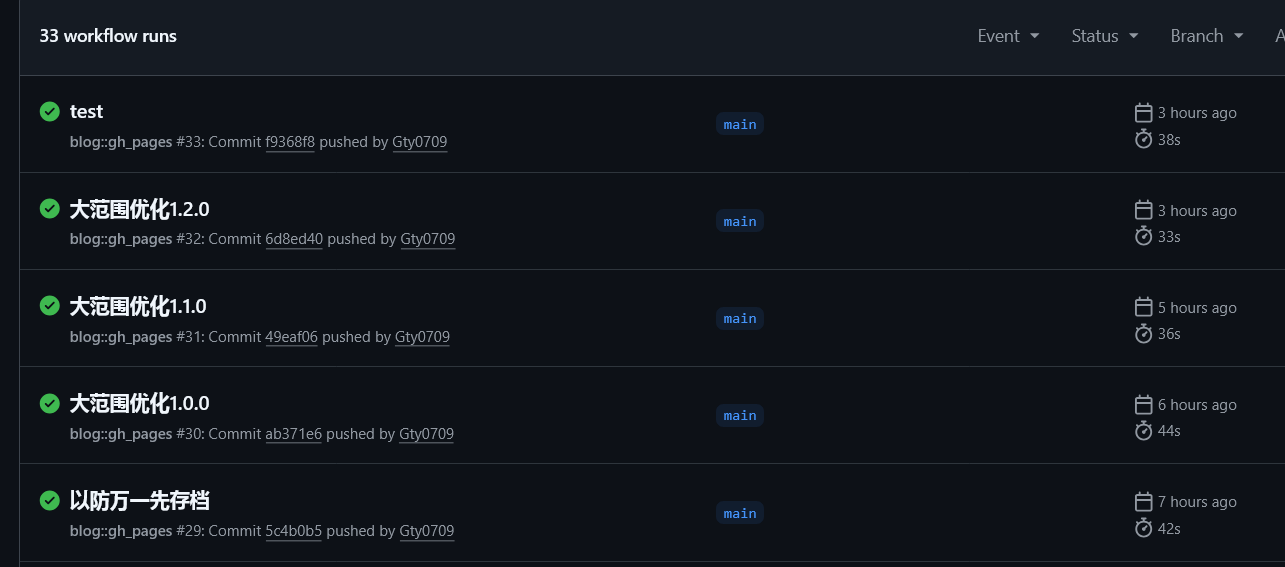
如果成功,应该如图所示的界面,此时在去上一步那样进入pagespages,查看我们的博客网址,点进去就能看到自己的小家了。
4.2.Debug
-由于原作者已经写好了工作流,正常来说一上传就能构建成功。如果报错,保持冷机,点进去看哪一步出错。以下点出几个常见的错误:
-
pnpm buildpnpm build失败:恭喜你,遇到本篇最难的错误。一般是由于你本地乱改东西或者配置错误导致。博客文章的数据和要提交的数据头不匹配。回忆自己为何报这个错误,原因是当时没仔细看
readme.mdreadme.md,在给文章自定义标签时没有按照要求,直接改了源代码导致报错,这个后续进阶配置我会细说。此处提个醒,如果改源码,记得改一点就上传一次,看看是否报错,否则错误很难找到,导致自己要重新重复所有步骤。 -
权限错误
报错内容找不到了,如果一开始就失败了,请检查工作流权限设置:
settings > actionssettings > actions,查看是否设置了过于严格的安全权限。我是这么设置之后就解决了问题:
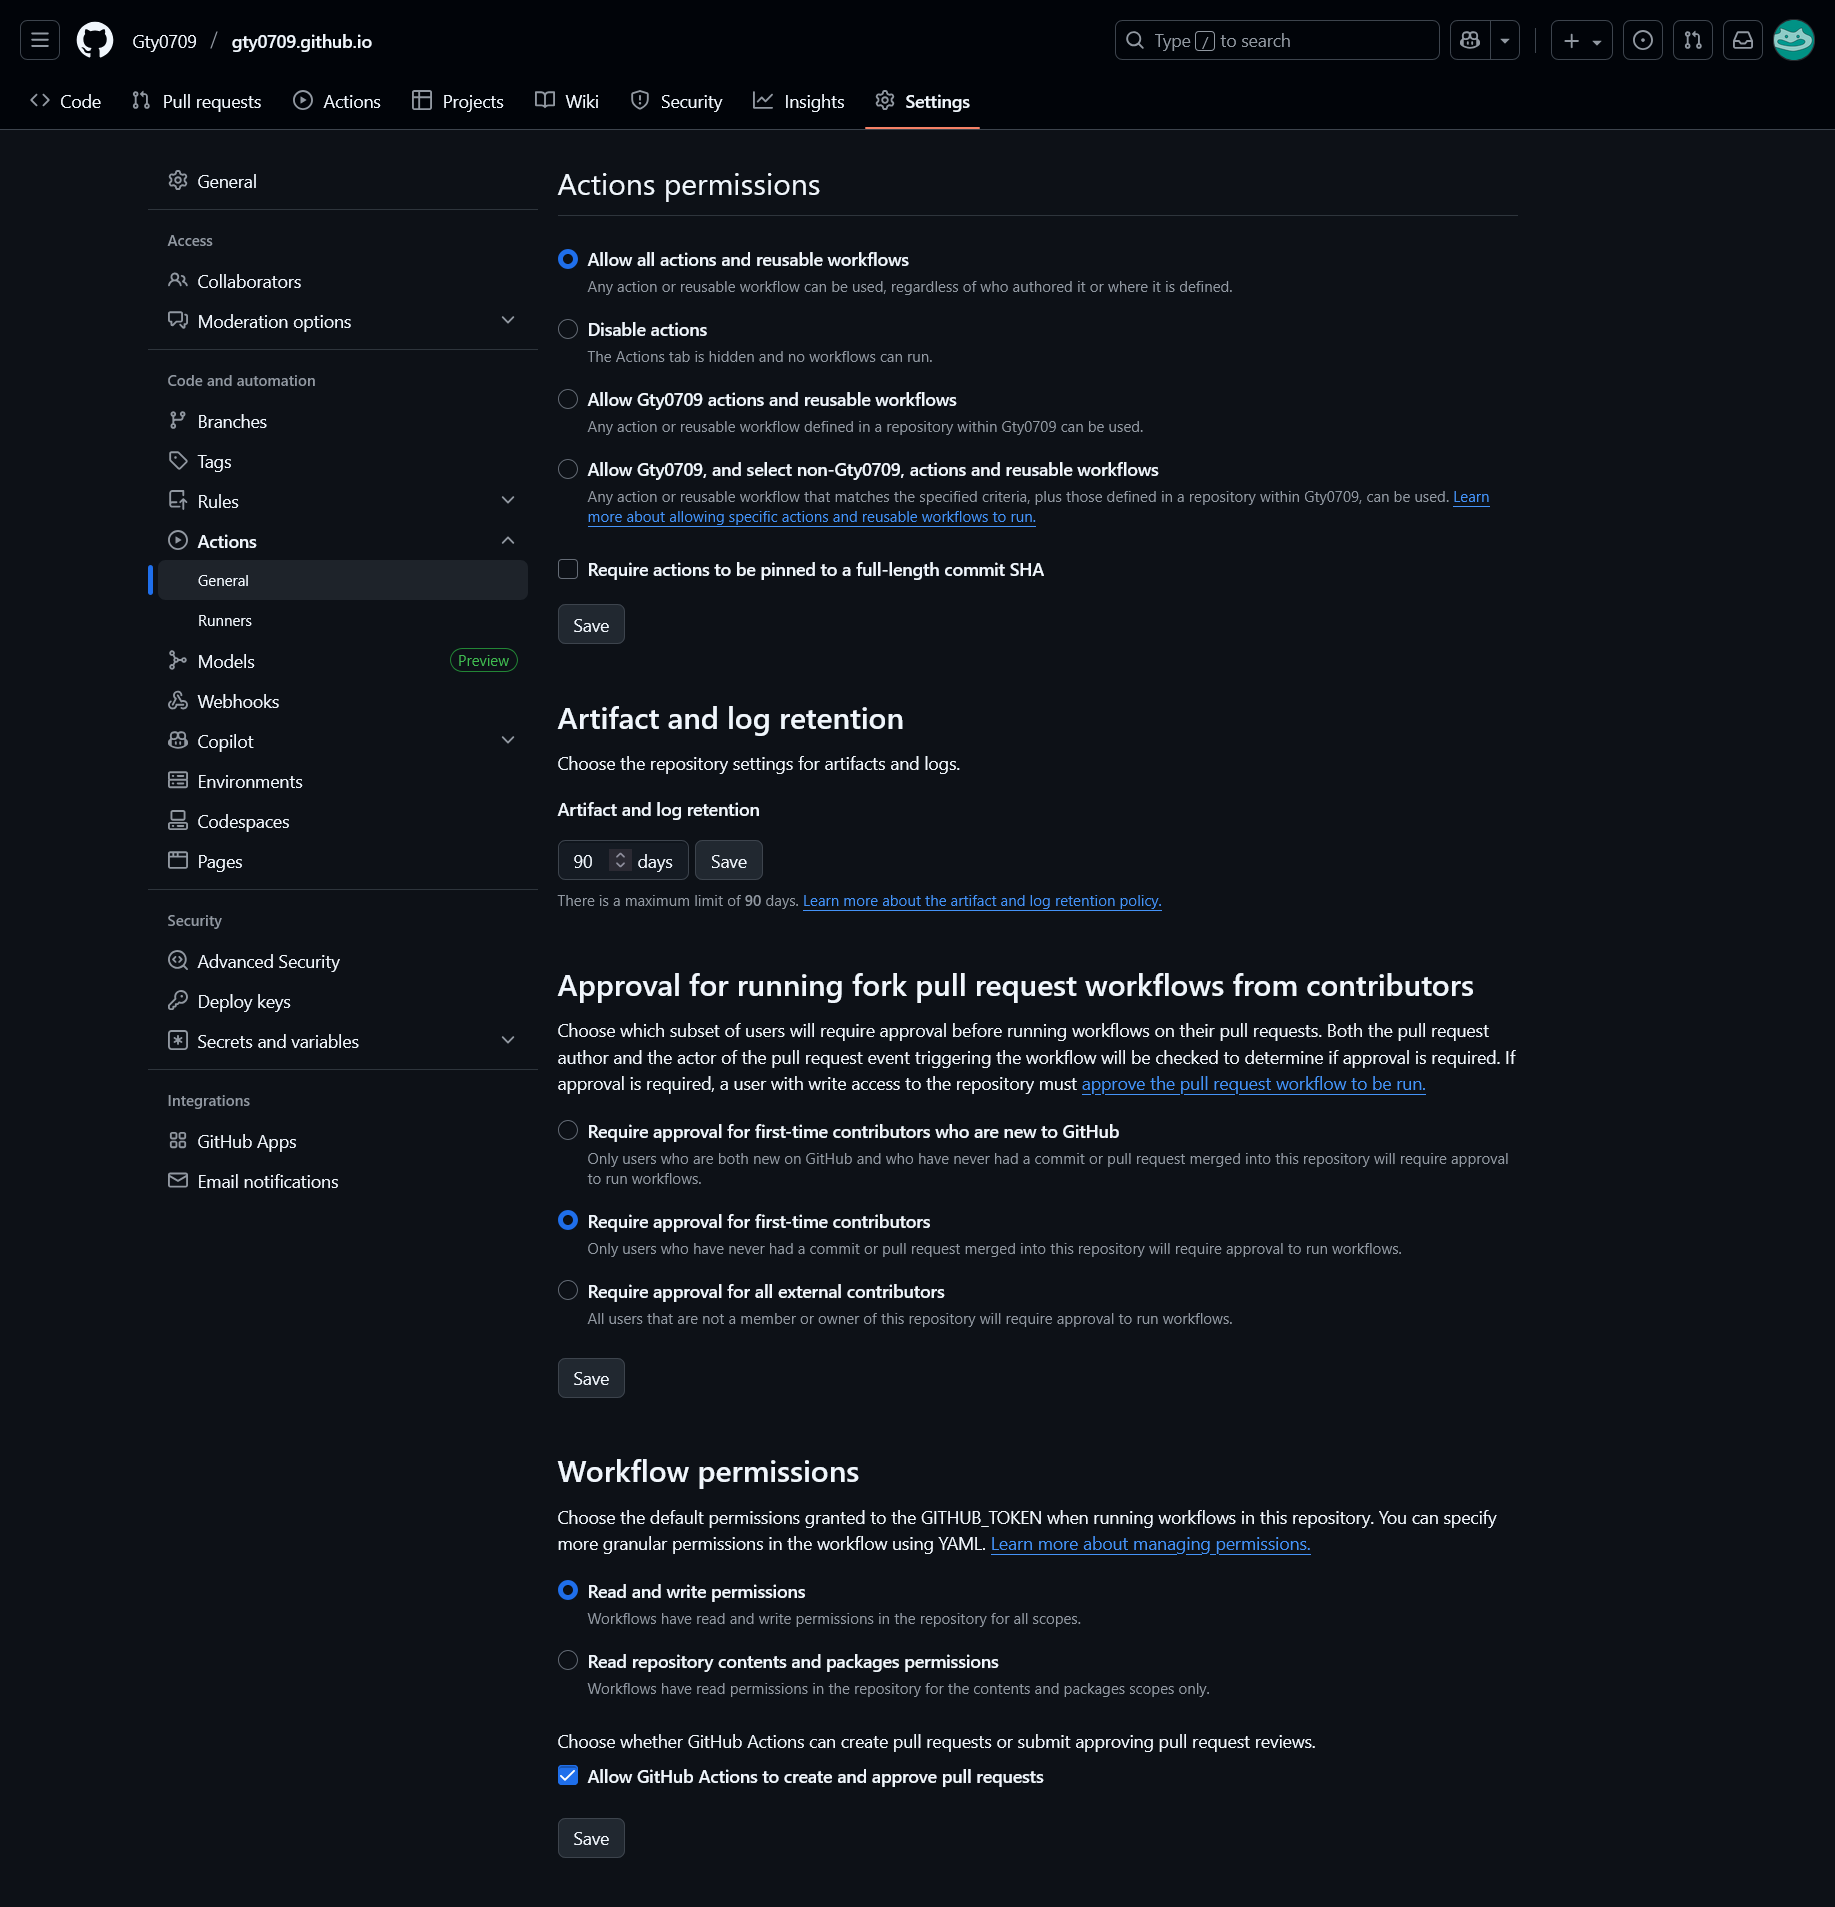
-
其余错误
我遇到第一个错误之后,去工作流文件注释了报错得到的行,然后重新运行,后面开始一连串报错。其实其余报错基本没有,一般都是第一个错误,遇到其它的,请自行百度解决
5.Advanced Usage(optional)
5.1.Introduction to workflow
- 未完待续